User Guide
DataVault Password Manager for Android
Table of Contents
- Overview
- Master Password
- Password Hint
- Logging In
- Viewing Items in a List
- Viewing Items in Folders
- Adding an Item
- Editing an Item
- Deleting an Item
- Searching for Items
- Categories and Types
- Templates
- Password Generator
- Security Settings
- Security Timeout
- Lock in Background
- Maximum Login Attempts
- Backup and Restore
- Synchronization
- Sync using Dropbox
- Sync using Wi-Fi
- Importing from DataVault for iOS
- Support
Overview 
Ascendo DataVault is a secure password manager that allows you to store personal information such usernames, passwords, PINs, etc. using powerful
encryption technology.
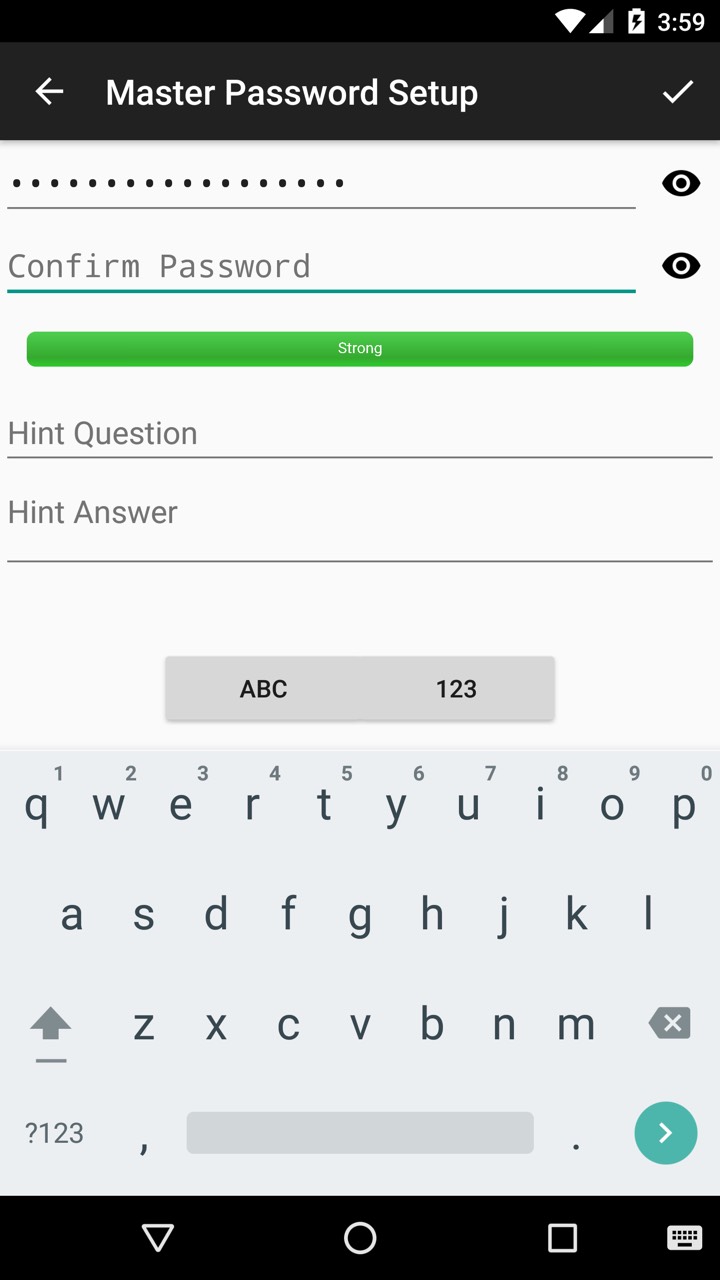
DataVault protects your confidential information using a master password and a powerful algorithm known as
PBKDF2 to encrypt your data. The master password is used to
encrypt and decrypt your data. When you first start DataVault, you will be prompted to select a master password
then enter it a second time to make sure you don't make a mistake.
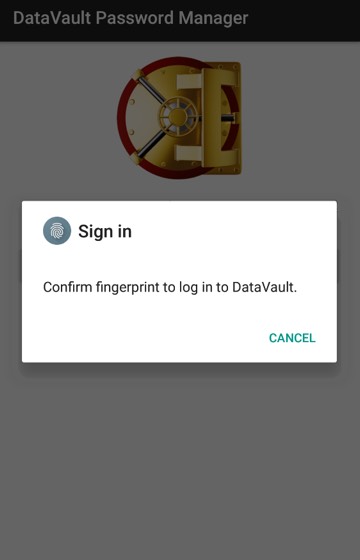
Version 6.1 and above supports Fingerprint Authentication for
compatible devices. Start by enabling
Fingerprint Authentication in Android Setting > Security. Then go to Settings > Security Settings in DataVault and enable Fingerprint Authentication (Touch ID).
You will be still be required to enter your master password at the beginning of each DataVault session because all the information in DataVault is
encrypted and decrypted using your master password. However, subsequent startups within a session can be done with the touch of a finger.
A password hint is an optional security setting that you can use to retrieve your master password if you forget it. The password hint consists of a
question and answer of your choosing. For example, you might choose What was my fist telephone number? as the question along with the correct answer.
If you forget your master password, click on the Hint button in the login window. DataVault will display the hint
question and prompt you for the answer. If you enter the correct answer, your master password will be displayed.
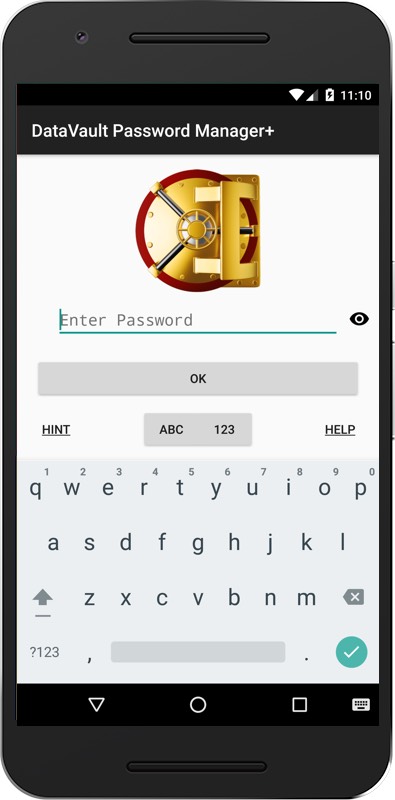
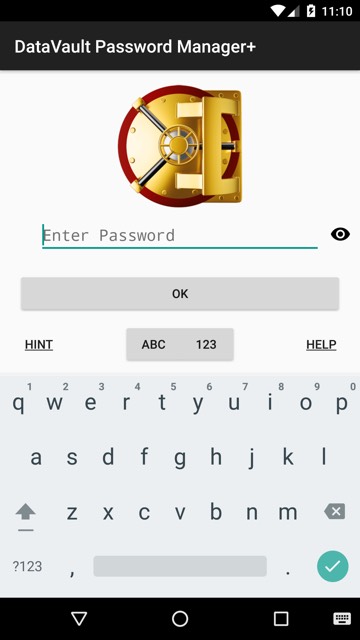
After the first startup, you will be asked to enter your master password on the login screen pictured below.
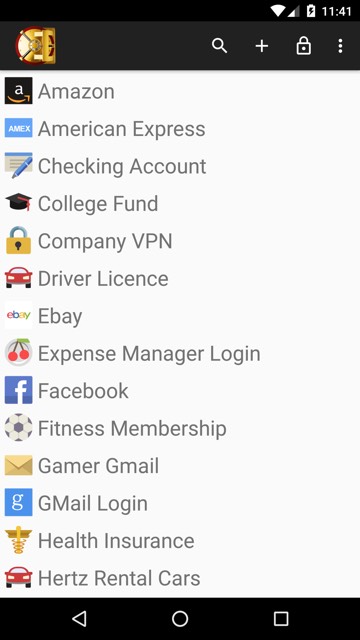
To view items in an alphabetical list, tap on menu > List.
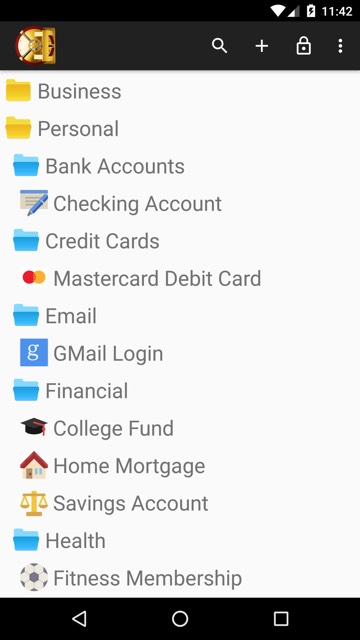
To view items in folders, organized by category and type, tap on menu > Tree View.
Click on the plus icon + in the Action Bar to add an item.
To edit an item, tap on any item in List of Folder view to go to the item edit screen.
To delete an item, click on the item name in folder or list view then click on the Menu key and select Delete from the Action Bar.
To search for an item, tap on the Menu key and select Search from the Action Bar. Each time you type a character, the tree or list of items will reduce
to include only those items containing the search string. For example if you type car, items such
as Mastercard and Car Registration will be displayed in the list. Clicking on the Delete button to the right of the search bar will clear
the field and display all items.
Items can be grouped into categories such as Business, Personal, etc. Each category can include several types such as Credit Cards, Logins and Memberships.
An Unfiled category and Unfiled type are created when DataVault starts for the first time. These folders cannot be deleted.
Templates allow you to set a default icon and field labels for items that are similar. For example, all credit cards have a number, expiration date and
security code. Instead of entering the same field labels each time you create a credit card item, you can select the Credit Card template which will fill the
field labels automatically.
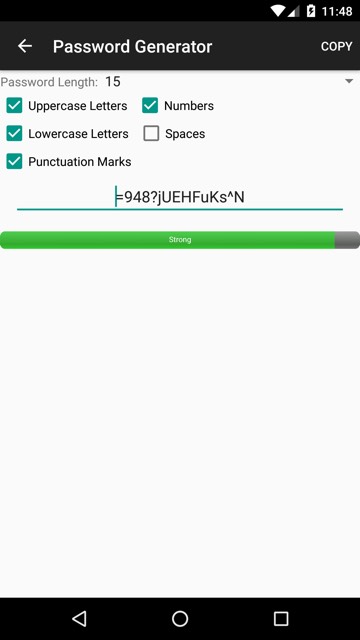
The password generator can be used to suggest new passwords based on user-defined settings.
DataVault provides several security settings to establish safeguards for accessing your data.
A security time out is the period of inactivity after which DataVault will prompt you to re-enter your master password. This protects you
from forgetting to quit DataVault.
The logout lock time is the number of seconds after which DataVault will require a login when switching applications.
If you enter the wrong password when starting DataVault you will be alerted and given another chance. After a user-defined number of attempts, the database
will be reset. This protects you in case your device is lost or stolen and a stranger tries to access your data.
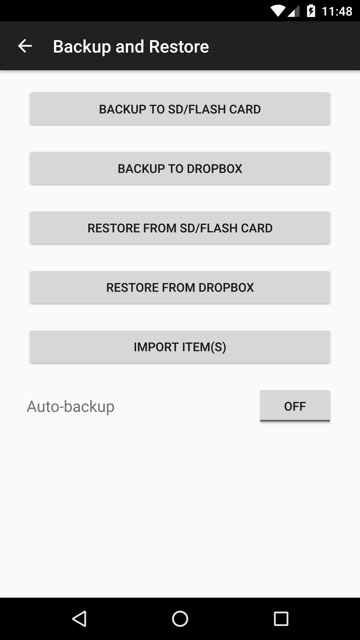
DataVault allows users to create a secure copy of all the items, categories, types and templates stored in DataVault using the backup feature. You can store
restore the data from this backup in case you DataVault information on your device is compromised.
DataVault for Android can synchronize items, categories and types with DataVault on other devices. DataVault implements 2-way synchronization
meaning that all additions, edits and deletions are taken into account regardless of the device on which they are initiated. If the same piece of information is modified
on two devices then DataVault selects the one that was modified last.
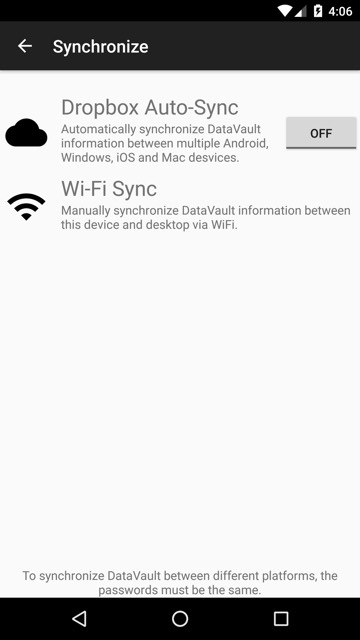
DataVault for Android can synchronize using Dropbox, a popular data storage service. To synchronize using Dropbox,
create a free Dropbox account and switch Dropbox sync on by tapping menu > Synchronize then tap the switch to turn it On. Turn on Dropbox Sync on other
devices running DataVault. If your information is not updated within a minute, try logging out and back in with DataVault.
Synchronization using Wi-Fi is available with DataVault for Mac or DataVault for Windows (sold separately). Start DataVault for Mac or DataVault for Windows and
select Synchronize from the menu bar. Start DataVault for Android, tap on menu > Synchronize. Choose Sync through Wi-Fi from the list and tap on Next.
Verify that the IP Address and Port settings are the same as those used by DataVault desktop, see below. If necessary, change the IP Address and Port parameters to match DataVault desktop.
Then tap on Sync Now.
See FAQ page for more information on troubleshooting Wi-Fi sync.
If you are using DataVault on an iPhone, iPad or iPod Touch and want to import to DataVault for Android there are two ways to proceed.
If you are experiencing technical difficulties using DataVault and you are not able to find solutions in the user guide or FAQ page, please send an email
to support@ascendo.co
You can store up to 10 fields and additional notes with each Item. For example, a health insurance item may include your subscriber number, group number, plan,
primary physician, etc. You can change the icon and field labels for each item.
Items can be organized into categories and types. Examples of categories could be Personal and Business. Examples of types could
be Credit Cards, Logins and Memberships. Classifying items using categories and types provides an intuitive way to organize,
display and find your confidential information.
DataVault provides a set of templates that can be used to enter similar items more quickly by providing default field labels. For example, you may have several
logins that each have a username and password. Creating a login template allows you to create new logins without having to re-enter each field labels.
You can display Items in list view or tree view. List view displays each item in a separate row with columns for each field, similar to a spreadsheet. Tree view
displays items as branches in a tree where the first level is category, the second level is type and the third level is the item.
DataVault includes numerous features to manage the security of your information such as field masking, password hint, security timeout and a customizable password
generator.
DataVault for Android can be synchronized with
DataVault for Mac,
DataVault for Windows and
DataVault for iOS (sold separately).
DataVault desktops allow you to import data and synchronize it with DataVault for Android devices.
Master Password
You can change your master password at any time by tapping on the Menu key and selecting More > Change Password.
Password Hint
To create a password hint, enter a question and answer when setting up your master password.
Logging In
Tap on 123 to select a numeric keyboard and ABC to switch back to the alphanumeric keyboard.
Tap on the eye icon see your master password in clear text. Tap it again to mask the master password.
If you enter your master password incorrectly, an alert will tell you how many attempts remain before DataVault erases
your data. This is to protect you from fraudulent login attampts.
If you think you enterred your password correctly, try tapping on the eye icon to unmask it. Verify that you haven't inadvertently turned on
caps lock or enterred a zero instead of the letter O. If you set a hint, you can use it to retrieve your password.
If all else fails, you can reset your password by enterring it incorrectly until you have exceeded the Maximum Login Attempts. Doing
so will erase your data so make sure to use this only as a last resort. If you are forced to do this, check menu > Backup & Restore to
see if you can restore your data. If you are using DataVault on another platform, you may be able to synchronize to restore data
on your Android device.
Viewing Items in a List
To view additional information for each item, tap menu > Expand Items. To see only the Item names, tap menu > Collapse Items.
Swipe up or down to scroll through the items.
To view all the information associated with an item, tap on the Item name.
Viewing Items in Folders
To view all folders open, tap menu > Expand Folders. To see only the Folder names, tap menu > Collapse Folders.
Swipe up or down to scroll through the items.
To view all the information associated with an item, tap on the Item name.
Adding an Item
Select an icon and enter a name. Category and Type are optional. You can add up to ten fields per item by tapping on Tap to add info.
Selecting a Template such as Bank Account, Credit Card, or Email will automatically select the icon and field labels.
Tap on the back arrow save the item and go back to List or Folder view.
Editing an Item
To change an item icon, click on the icon in the upper-left of the item form. An icon matrix will appear. Click on an icon to select it and return to
the item form.
To modify an item name, field label, field contents or notes, tap on the element and select Edit from the pop-up menu. After you are finished, tap Done
to return to the item form.
If you enter a string of characters into the field contents starting with https://, DataVault will assume it is an internet address or URL. After saving the
item, the field will become actionable. This signifies that you can click on the link and select Open in Browser to go to the web page. Tapping on an email
address will display and option to Send Email. Tapping on numeric field will display an option to Call the number.
To use a template, click on the Menu key andd tap on Template in the Action Bar. Choosing a template will automatically fill the item form
with a default icon, field labels, category and type. For more information, please see the section on Templates.
By default, DataVault will store a new item in an Unfiled folder. To change a category or type, tap on Unfiled > Edit and select from the list.
The edits you make are automatically saved. When you are done editing, tap on the Escape key to return to DataVault home screen.
Deleting an Item
Searching for an Item
You can choose which fields DataVault will search through by tapping on Search Settings in the main menu. By default, DataVault
will only search the item name field, however you can extend search to include the item labels, contents and notes.
Categories & Types
To add, edit or delete and Category or Type, tap on the Menu key, tap on More > Manage Category or Type. If you delete a category or type, DataVault will ask
you if you want to move nested items by tapping on the checkbox, or delete them permanently.
Templates
DataVault comes with a set of 25 pre-defined templates.
To use a template with an item, tap on the item name then tap on the Menu Key and select Template from the Action Bar.
To add a template, tap on the Menu Key then select More > Manage Templates. Tap on the Menu Key again and select Add from the Action Bar.
To edit a template, tap on the Menu Key then select More > Manage Templates. Tap on an template in the list to display the edit template form.
Tap on the template icon, name or any field to edit then tap on Done.
To delete a template, tap on the Menu Key then select More > Manage Templates. Tap on an template in the list to display the edit template form.
Tap on the Menu Key and select Delete from the Action Bar.
Password Generator
To invoke the password generator, click on the Menu key then select Passwords Generator from the Action Bar. Alternatively, you can
invoke the password generator when editing an item field by tapping on the Generate Password button.
You can select the length and types of characters to include in the passwords. Each time you change a setting the suggested password will be
updated.
To cut and paste a password, tap on the Copy button at the bottom of the password generator screen. Navigate to a field that can be edited,
tap and hold the field for two seconds, then select Paste from the pop-up menu.
Security Settings
To modify these settings, tap on the Menu Key and select Security Settings from the Action Bar then tap on Done to save.
Security Timeout
You can change the security time out by tapping on the Menu key, selecting Security Settings from the Action Bar and selecting the number of minutes
from the Security Time Out drop-down list.
Lock in Background
For example, you could copy a username to the clipboard, hold down the menu key to switch to your browser, paste the username and
switch back to DataVault before the Logout Lock Time expires without having to re-enter your master password.
Maximum Login Attempts
To change this setting, tap on the Menu key, select menu > Security Settings. Then chose Max Login Attempts and select
a number of login attempts from the drop-down list.
Backup & Restore
To backup your data, click on the Menu key, tap More then select Backup & Restore. DataVault will suggest a filename including the data and time.
Tap the Ok button to accept the filename or select your own. Your data will be encrypted using your master password.
To restore the data, tap on the Restore button and select the filename of the backup you would like to restore.
Synchronization
To synchronize, the passwords on each device must be the same. You can verify the password on a device by using the unmask feature before you login.
To modify a password select Change Password from the Options menu.
The use of 3rd party software such as Virtual Private Networks (VPNs) may interfere with synchronization. For troubleshooting tips, see the Frequently Asked Questions (FAQ) page and contact Support if you don't find a solution.
Sync using Dropbox
Sync using Wi-Fi
Importing from DataVault for iOS
The first is to use DataVault for Mac or DataVault for Windows as a conduit. Start by backing up your data on iOS, then sync
DataVault for iOS to DataVault desktop and sync DataVault desktop to DataVault for Android. DataVault desktops include free
trial periods so you don't need to purchase them to move information from one device to another.
Alternatively, you can move data directly from iOS to Android by following the steps below.
Support
For all other comments, suggestions or inquiries, please email info@ascendo.co